Honeywell RTH6580WF Thermostat Manual
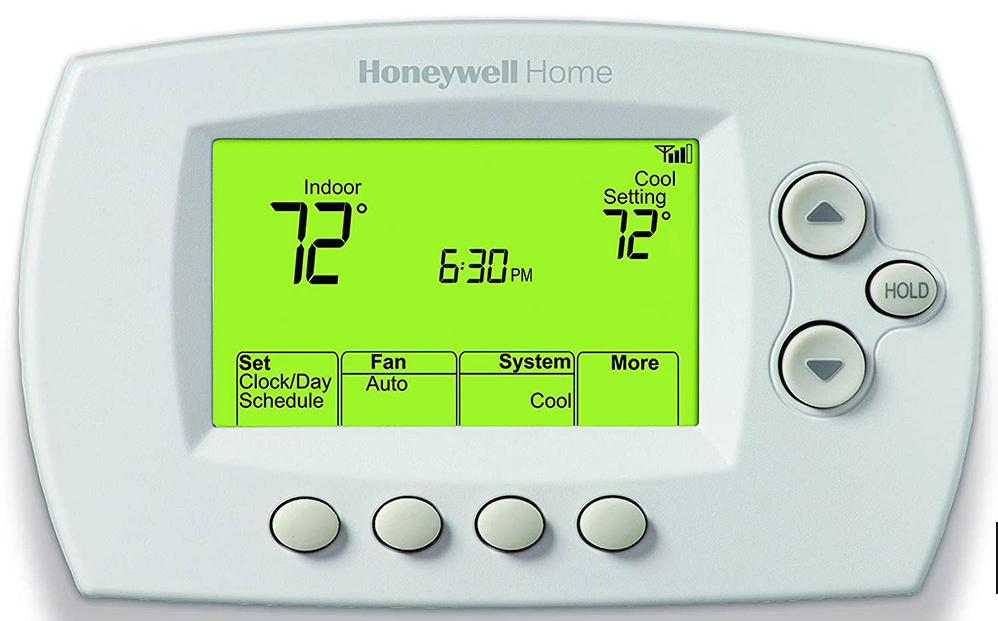
The Wi-Fi programmable thermostat from Honeywell, model number RTH6580WF, is made to fit your connected, online lifestyle. It can be controlled from any location in the house or the entire world.
Download the free app on your computer, tablet, or smartphone to monitor your heating and cooling systems and control the indoor temperature settings with the push of a button. Leading smart home providers like Amazon Alexa, Google Assistant, IFTTT, and Samsung SmartThings all support this Wi-Fi programmable thermostat
Your schedule and habit are unique to you, and they frequently conflict with the settings on your thermostat. While traveling, you can still use your smartphone to check, change, and program your RTH6580WF WiFi 7-Day Programmable Thermostat.
With the help of the Total Connect Comfort App, users can manage their connected devices at any time and from any location. You can keep an eye on indoor humidity levels, track your heating and cooling usage, and receive email notifications automatically about safety, comfort, and energy.
The app is compatible with a large number of well-known linked devices.
Honeywell RTH6580WF Thermostat Installation Manual
The thermostat has a detailed manual that gives you comprehensive information that will allow you to use it easily. The manual also helps in the installation process giving you a detailed step by step process of installing it properly.
Installing Your RTH6580WF Thermostat
At the fuse box or the system switch, turn OFF the electricity to your heating and cooling system to protect your equipment. Verify the power is off. Attempt to activate heating and cooling systems by adjusting the temperature on your outdated thermostat. If your system does not turn on, your power is off.
Leave the wires attached when removing the old thermostat faceplate. For future use, take a photo of the wire connections. View the Alternate Wiring videos on the Honeywell website if a wire is not attached to a terminal marked “C” or if the terminal does not exist on the old thermostat.
Never label wires based on color. As you separate the wires, label them with the supplied sticky tags. Label wires using the names of the former thermostat terminals rather than wire color.
Note: Write the necessary letter on a blank sticky tag if no tag fits a terminal designation.
Following the labeling and disconnecting of all cables, remove the old wallplate from the wall.
Take hold of the finger grips on the top and bottom of the wallplate of your new thermostat with one hand, and the thermostat (front) with the other. Disassemble the parts.
Utilizing the screws and anchors supplied with the thermostat, mount your new wallplate. If needed
• For drywall, drill 3/16-inch holes.
• For plaster, drill 7/32-inch holes.
Note: You might be able to use the wall anchors you already have. To verify alignment, hold the wallplate up to the existing anchors.
Match the sticky tag on the C Wire to the labels on the terminals first.
Important! The main power source and necessary wire is C wire. Your thermostat won’t operate if you are missing a C wire. Visit their website to view the Alternate Wiring videos.
Loosen the screw, place the wire on the terminal’s inside edge, and then tighten the screw.
Gently pushing on the wire will show whether it is tightly fastened.
Repeat for each additional wire.
After all cables have been placed, push any extra wire back into the wall opening.
Fold the quick reference card in accordance with the score lines, then insert it into the slot on the thermostat’s rear.
Snap the thermostat into place after lining it up with the wallplate.
Check to see whether the C wire is connected at both the thermostat and the HVAC system. Ensure that the door to the HVAC system is securely fastened. At the fuse box or the power switch for your heating and cooling system, turn the power back ON.
The type of heating/cooling system must be chosen so that the thermostat functions correctly and does not harm your system.
Your thermostat is already programmed to operate a conventional system (natural gas forced air with air conditioning) if you have one.
If your system has any of the following: multistage machinery; heat pumps, other hydronic etc, the system function setting MUST be done in order to modify the system type.
Download The Manual
You can view the Honeywell RTH6580WF thermostat installation manual from the Honeywell website. Here is a direct link to the file on their website.
Check out our other Honeywell thermostat manuals review: Honeywell 6360D1002, Honeywell RTH9585WF,
One Reply to “Honeywell RTH6580WF Thermostat Manual”
Comments are closed.