Spectrum Remote Control Programming
You can operate your TV, DVR, and Spectrum Guide with the help of the many capabilities on your Spectrum TV remote control. This blog post explains how to use these simple functions. You should program your remote first, though, if you haven’t already.
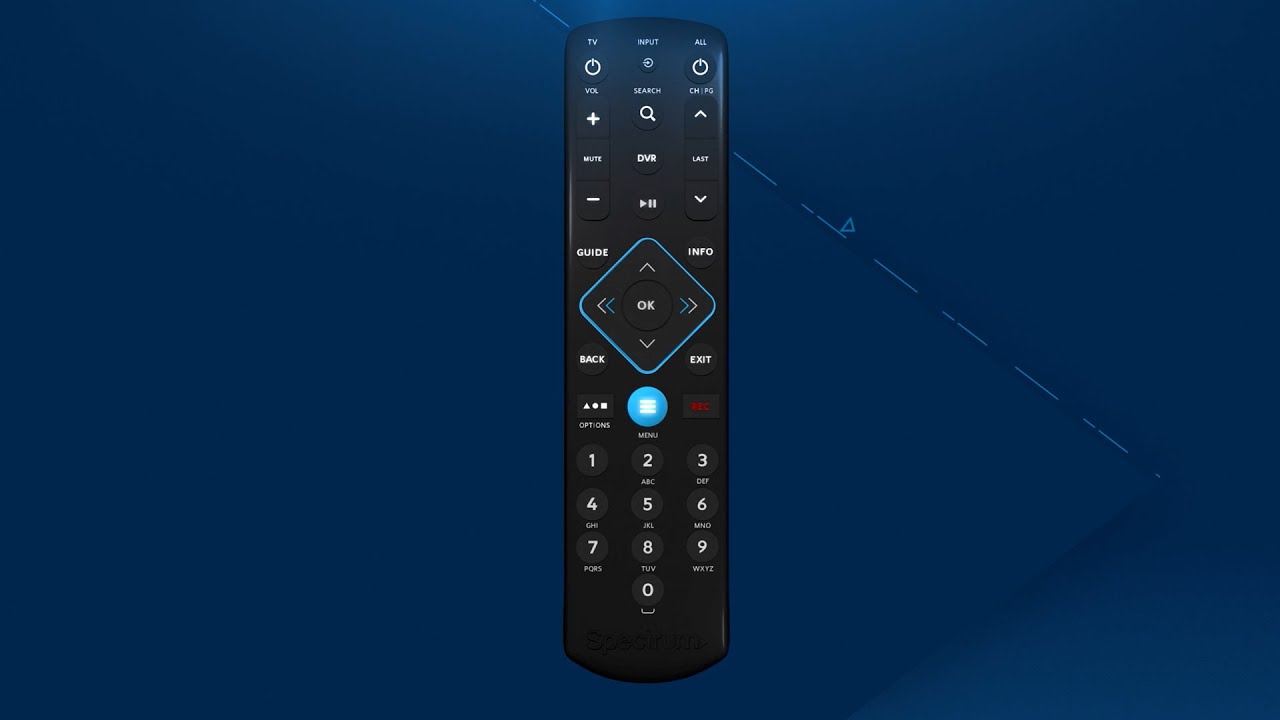
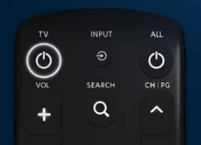
Before starting, make sure your remote has two AA batteries installed. Here is a peek at what each of these buttons do now. Three buttons are located at the top of your remote, running from left to right.
The “TV” button turns on and off your TV.
Your TV’s “Input” button lets you change the video inputs. This might require moving from your Spectrum receiver to, say, a DVD player or Roku, depending on the devices connected to it.
The “All” button simultaneously turns on your TV and Spectrum receiver. Your volume controls are on the subsequent row.
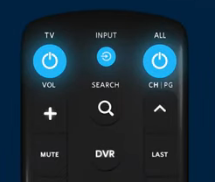
The Mute button is located in the middle of the volume controls. Three buttons are located to the right of the volume controls. You can search for TV, movies, and other stuff using the top one. The DVR button, which allows you to access your recorded programs, is located beneath that.
The Play/Pause button, which is located third from the top, lets you pause and resume watching current on-demand or DVR-received programming. The channel buttons that let you navigate up and down through all of your channels are located next to them.
You can return to the channel you last watched by pressing the final button situated between the two channel buttons.
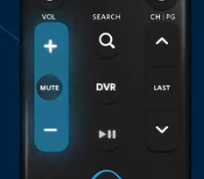
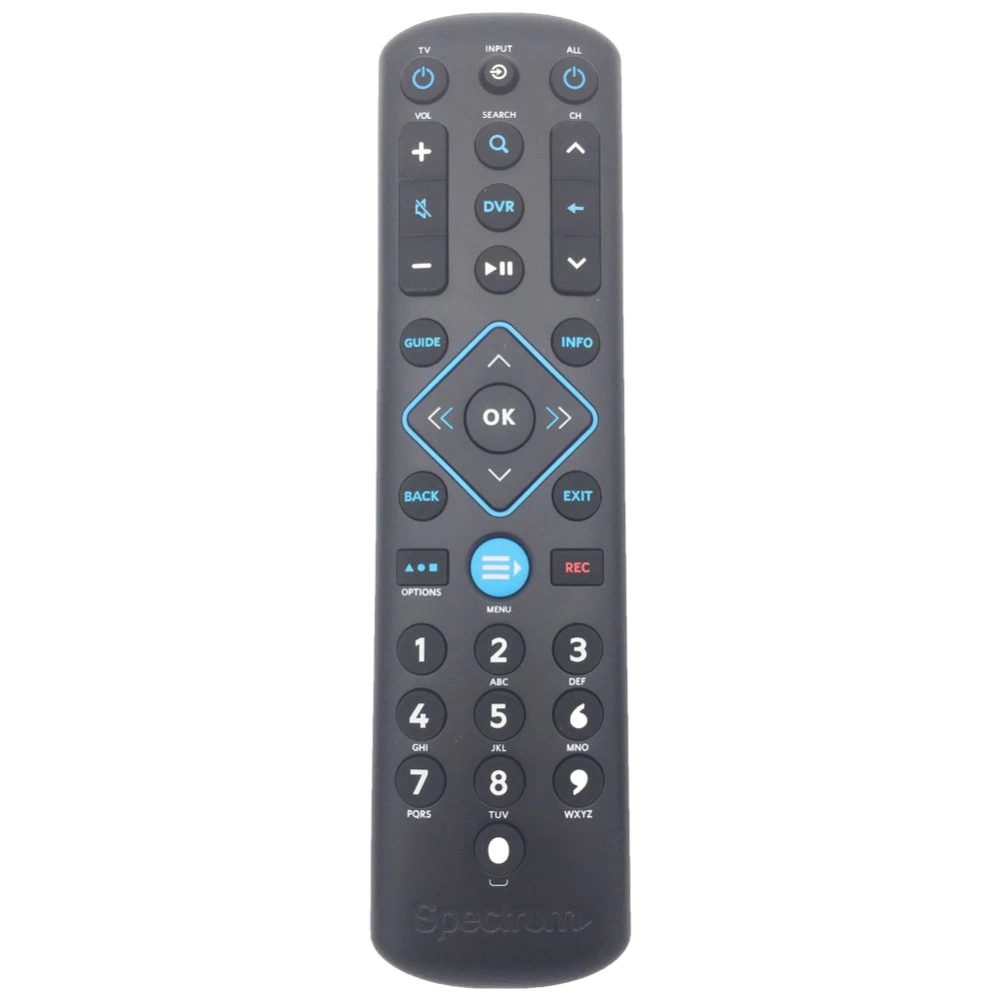
The “Guide” button will lead you to the “Spectrum Guide” as you continue to go down the remote. It is on the left in the next row.
To learn more about a program you’ve chosen, click the Info icon to the right. You can traverse the guide using the four arrow buttons in the centre of your remote. To choose the option you’ve chosen, press the OK button in the center of the arrows.
You may fast forward and rewind with the left and right arrows. You can return to the screen you were previously viewing by clicking the Back button in the bottom left corner of this section.
You can exit the active screen using the Exit button on the right.
The top button in the next row lets you access special options where you can enable Guide narration, DVS, or closed captioning.
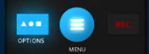
The Menu button, which is used to access the main menu, is located in the middle of this row. If you have a DVR, you can set programs to record by clicking the button to the right of “Menu.”
Finally, you may enter a specific channel number using the numerals on the bottom of the remote control without having to go through the channel guide or cycle through the channels.
When required by on-screen menus, they can also be used to enter numbers. It won’t take long to become used to this practical tool.
Identifying Your Spectrum Remote
Unsure of the remote you possess? No issue. We’ll assist you in choosing the appropriate one so you can quickly begin programming it. Go to spectrum.net/remotes first. There are now two ways to recognize your remote.
Easily match the model number on your remote to the appropriate image on spectrum.net/remotes, or, for added assurance, remove the battery cover from the back of your remote and look inside the battery compartment.
Now go to spectrum.net/remotes and match that make and model to a remote. Once you’ve identified the relevant remote, all you need to do is click on the image of it on that page to be sent to its programming instructions.
Read the section below for further info on how to program it.
Programming Your Spectrum Remote
Trying to use your new remote to operate your TV? Your spectrum receiver and remote will already be functioning flawlessly when you receive them.
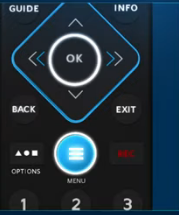
Here, we’ll walk you through the process of setting up your remote control to operate your TV and audio equipment. You should check that your Spectrum receiver and remote look exactly like this before we begin.
Read our “Identifying Your Remote Video” if the Spectrum receiver and remote have different looks. You now own the proper remote and Spectrum receiver? Now verify that your TV is on and that the remote control’s batteries are in the rear. Find your TV manufacturer in this list as a first step.

You should write down this code because you’ll need it in the future. If you can’t find your TV manufacturer listed here, go to spectrum.net/Spectrumremote to find the appropriate code or codes.
Step 2: Press and hold the menu and OK buttons on your remote control at the same time until the input key blinks twice.
Step 3: Once again press and release the TV power key.
Step four is to push and hold the manufacturer-specific numeric code down until the TV goes off.
Now that setup should be finished. If this doesn’t work, try these steps one more time. You’re almost there, so don’t panic if the steps don’t work the second time. All you have to do is hold down the menu and OK keys at the same time until the input key blinks twice.
Then, input the first code from spectrum.net/Spectrumremote that is specified for the manufacturer of your TV. When finished, the input key will confirm by blinking twice. If they operate, the setup is finished. If not, keep attempting the manufacturer-associated codes for your TV until you succeed.
Need to use your new remote to operate an audio device?
The procedures are quite similar. Press and hold the menu and OK keys at the same time until the input key blinks twice. This time, enter the code from spectrum.net/SpectrumRemote that corresponds to your audio brand. The input key will blink twice once more to signal completion.
To check that your audio device is functioning properly, test the volume and power buttons. If pairing failed, try each code connected to your audio brand until it works. You can start viewing your favorite show straight immediately after setting up your remote.
We trust the above information has been useful to you, teaching you how to identify and program your Spectrum remote control.