Philip Avent Bottle Warmer Instructions
Below are instructions to follow on how to use and clean your Philip Avent bottle warmer.
General Usage
– Use the device only inside.
– Prevent youngsters under the age of 8 from reaching the appliance and its cable.
– Avoid submerging the cord, plug, or appliance in liquid.
– Avoid letting the main cord hang over a table or worktop’s edge. An extra cord can be kept in the bottle warmer’s base.
– Keep heated surfaces away from the main cord.
– Only use an earthed wall socket to connect the appliance. Make sure the plug is always properly put into the wall socket.
Before connecting the appliance, make sure the voltage shown on the appliance’s bottom matches the main voltage in your area. If an extension cord is necessary, be sure it is earthed and has a minimum 13-ampere rating.
If the plug, the power cable, or the appliance itself is damaged, do not use it. In order to prevent a hazard, you must have Philips, a repair center authorized by Philips, or similarly qualified individuals replace the broken main cord. Never put the appliance in a heated oven, on top of, or next to, hot gas or electric cooktop.
Children 8 years of age and older, as well as people with diminished physical, sensory, or mental capacities, or who lack experience and knowledge, may use this appliance if they have received supervision or training regarding how to use it safely and are aware of the risks.
The device is not intended for use by children. Children under the age of 8 who are not being closely supervised are not permitted to perform cleaning or user maintenance.
Avoid preheating the device. Never add water to a bottle warmer until it is fully constructed with the cap on. Fill the bottle warmer with water before turning it on.
Burns from hot water can be very painful. When the bottle warmer has hot water in it, be careful. The appliance’s accessible surfaces may heat up while in use. When the appliance is filled with hot water, do not move it.
Take the bottle or container out of the bottle warmer once the milk or food has reached the proper temperature. The temperature of the milk or food rises if you leave it in the bottle warmer. Before feeding your child, always check the food’s temperature.
Burns from hot water can be very painful. When the bottle warmer has hot water in it, be careful.
– The appliance’s accessible surfaces may heat up while in use.
– When the bottle warmer is filled with hot water, do not move it.
– Take the bottle or container out of the bottle warmer once the milk or food has reached the proper temperature. The heat of the milk or food rises if you leave it in the bottle warmer.
– Before feeding your child, always check the food’s temperature. This equipment is designed to be utilized in residential settings such as homes, bed & breakfasts, staff kitchens in businesses, offices, and other places of business, as well as by guests in hotels, motels, and other lodging facilities.
When the Philips Avent bottle warmer is not in use, unplug it. Wait until the appliance has cooled before cleaning it. Adhere to the descaling recommendations to prevent permanent harm. Avoid attempting to open or fix the appliance on your own. You can get in touch with the Philips Customer Care Center in your nation.
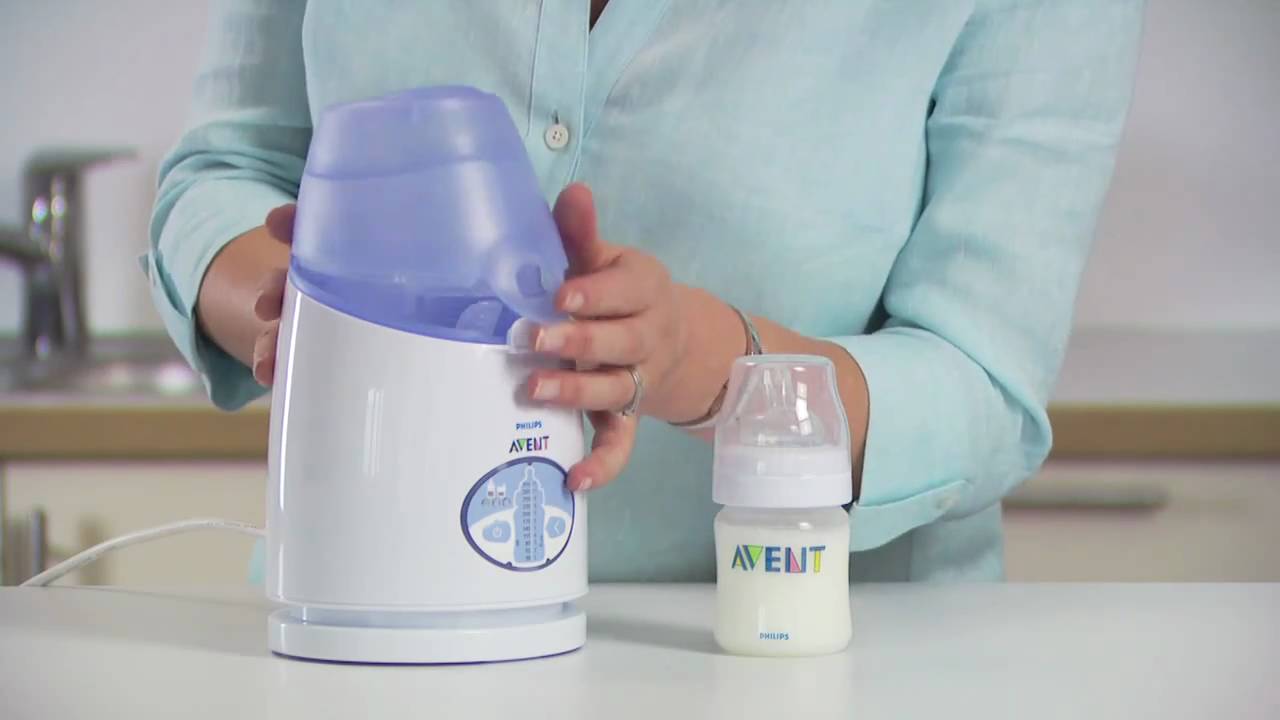
Making use of the bottle warmer
You can easily rewarm all Philips AVENT feeding bottles, milk/baby food in containers, and other baby food jars with this bottle warmer. Please take note that this bottle warmer cannot handle Philips AVENT breast milk bags.
Explanation of Settings
- Off Setting: Both the bottle warmer and the light are off. The appliance is turned on and the light is illuminated when the other settings are selected.
- Defrost setting: A bottle or container of milk or baby food should be defrosted until liquid. There is no warming.
- Setting for warming milk with a maximum capacity of 180ml/6oz: When you wish to heat a container of milk with a content of up to 180ml/6oz, choose this setting.
- Food warming setting: When you want to heat a jar or container of baby food, choose this setting.
- Setting for milk warming for quantities greater than and equal to 180 ml/6 oz: When you want to reheat a bottle of milk that contains more than 180ml/6oz, choose this option.
Warming milk in the bottle warmer
- In the wall socket, insert the mains plug.
- Insert the bottle warmer with a bottle.
- Drinking water should be added to the bottle warmer until it reaches the level of the milk in the bottle. The maximum level of water in the bottle warmer for significant amounts of milk is roughly 1 cm below the top. A precise water level guarantees proper warming operation.
- Choose the preferred setting. To determine how long the milk has to be warmed in the chosen setting, consult the heating reference table at the conclusion of this chapter.
The volume of milk heated and the temperature at which it was first placed, i.e., at room temperature (20°C) or refrigerator temperature (5°C), determine how quickly milk warms.
When a setting is chosen, the orange light turns on. This proves the bottle warmer is turned on. Note: The milk flows and heats uniformly as it warms. Note: The milk flows and heats uniformly as it warms.
For the duration of time, it takes to warm the milk, consult the warming reference chart. When the time period specified in the warming reference table has passed, remove the bottle from the bottle warmer.
Warning: The milk may overheat if you keep the bottle in the bottle warmer for any longer than the amount of time specified in the settings table.
Always take your milk’s temperature before feeding them. Shake the bottle or milk storage container gently, then verify the milk’s temperature by dabbing a few drops of it on the inside of your wrist.
Warming baby food in the bottle warmer
Repeat the actions outlined in the preceding paragraph. Baby food does not circulate spontaneously when warming, so mix it occasionally. When holding the container or jar while stirring, take care not to burn your fingers.
After warming, use a spoon to check that the baby food isn’t too hot. If the baby food is not warmed sufficiently, rewarm it by placing the container into the bottle warmer until it reaches the right temperature.
Note: For the best outcome, it is imperative to stir and inspect the baby food constantly while it is warming due to the wide range of baby food consistencies.
Defrost setting
You can defrost your frozen milk to a liquid form using this setting. Check the heating reference chart for the anticipated defrost timings; it includes indications for a small and a big milk amount. Once the milk has defrosted, select a warming setting.
As a general rule of thumb, start your milk at a temperature that is close to room temperature. Note: For the best results, stir and check the baby food frequently while it is defrosting because there is such a wide range in the consistencies of baby food.
AVENT Classic and Natural PP bottle ranges are used to determine the specified warming times. Be advised that glass bottles and Philips AVENT standard bottles warm up at times different from those shown.
The times for defrosting that are listed are based on food containers made by Philips AVENT. Note: Baby food warming times cannot be specified due to the wide range of baby food consistencies.
Though the food or milk may feel warm to you, a newborn baby finds the temperature to be incredibly comforting.
How To Clean Your Philip Avent Bottle Warmer
Disconnect the bottle warmer after each usage to allow it to cool. For hygiene reasons, empty the bottle warmer’s water reservoir. Use a wet towel to clean the bottle warmer’s exterior and interior.
Never clean the bottle warmer with harsh chemicals, antibacterial cleaners, or sharp objects.
Make sure that there is no spilled baby food left on the bottle warmer’s bottom if you used it to warm baby food containers.
Descaling your Philips Avent Bottle Warmer
The bottle warmer should be descaled every four weeks to make sure it keeps functioning properly.
Pour 200ml/7oz of cold water and 10 grams of citric acid into the bottle warmer. Turn on the bottle warmer and choose the 10-minute milk warming preset for bottles with less than 180 ml/6 oz of liquid. The solution should remain in the bottle warmer until all of the limescale has disappeared.
At the end of its useful life, turn in the appliance at a designated collection location for recycling rather than throwing it out with other household trash. You contribute to environmental preservation by doing this.