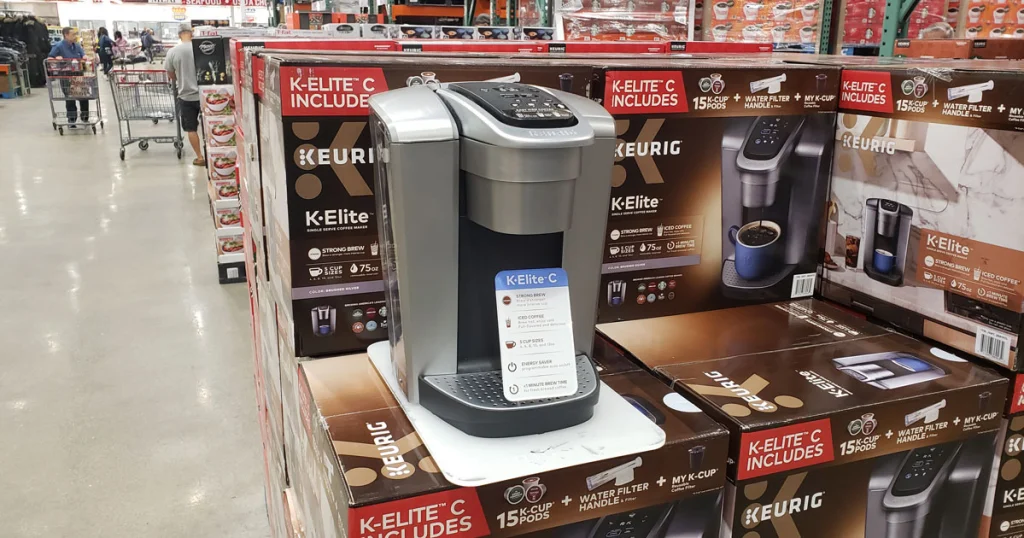
Keurig K Elite K90 Coffee Maker Manual
Keurig K Elite K90 is a new model of Keurig coffee brewing system that offers an enhanced design, a larger water reservoir, and more options for customization. Keurig K Elite K90 is a coffee maker that features 5 brew sizes that allows you to brew 4, 6, 8, 10, or 12oz of your favorite coffee, tea, hot cocoa.
It has a reservoir that holds up to 70 ounces of water and has a silver carafe that keeps the coffee hot for hours.
Keurig K Elite K90 Instructions Manual
It comes with an instruction manual for use and care. The manual provides instructions on how to use the machine and how to clean it out after use.
See the manual below
kelite
More On The Keurig K Elite K90 Coffee Machine Maker
This coffee maker is an innovative product for its time. It combines the convenience of single-serve technology with the speed and quality of a traditional drip coffee maker. The Elite K90 was made with convenience in mind, but also gives you the option to make your favorite cup of Joe from your favorite brand.
The Keurig K Elite K90 also has a new design with an improved ergonomic handle that makes it easier for you to pour your favorite beverage without spilling it.
Keurig K Elite K90 Features
- It features a large water tank, which allows you to brew up to 30 cups of coffee or tea without having to refill it.
- It also has a large digital display, which makes it easy for you to program your favorite drink.
- Comes with two different removable drip trays – one for small cups and one for large cups. This allows users to easily change the size of their drink without having to fill up their reservoir
How to Set Timer on Keurig K Elite
This coffee maker has a timer that can be set to make your coffee automatically. It has an built-in timer and you can set the time between 1 to 8 minutes. There are many ways to set a timer on your Keurig k elite coffee maker.
You can use the touch screen and select a duration of time, or set it using the timer button on the front panel of your machine.
Keurig Elite Programming
Use the up and down arrows and the settings button to program your K-Elite® brewer. After you’ve programmed the feature, press the settings button to return to the home clock screen.
Clock: Press the settings button once and select the correct hour using the up and down arrows. To pick the correct minutes, press the settings button again and utilize the up and down arrows.
Temperature Control: Click the settings button three times and select your favorite temperature using the up and down arrows.
Auto On: Hold down the settings button until you see a sun icon. Then, using the up and down arrows, switch “on” the Auto On feature. When you switch to the home clock screen, a sun icon will appear to indicate that the feature is active.
To choose your preferred off time, click the settings button and click the up and down arrows. Off time can be set in 15-minute increments from 15 to 2 hours. When your brewer is in Auto Off mode, a moon icon will appear on the screen.
Just use up and down icons to switch the functionality “off” to disable Auto Off. On the screen, the moon icon will no longer appear.
Use the up and down arrows to turn the Auto Off functionality “on.” On the screen, the moon icon will display.
Keurig Use & Care Guide
- Clean the exterior of your Keurig® brewer occasionally to keep it looking its best. Simply use a moist, soapy, lint-free, non-abrasive cloth to clean. Never put the brewer inside water or other liquids.
- The drip tray, which can contain up to 8 ounces of overflow, should be cleaned and emptied on a regular basis. Slide it toward you to remove it, keeping it level to avoid leaking. Use a moist, soapy, lint-free, non-abrasive cloth to clean.
- Lift the handle and grip the top of the K-Cup® pod holder with one hand while pushing up on the bottom of the K-Cup® pod holder from below with the other until it releases. After cleaning, use the two front ribs as a guide to fit the K-Cup® pod holder with the opening and snap it into place from the top.